Shown in the following pictures and text are twelve steps to making
jewelry using the "lost wax" jewelry creation process.
|
Step 1: Create Design
The designer's concept of jewelry can be started as a sketch or a
technical drawing.
|
 |
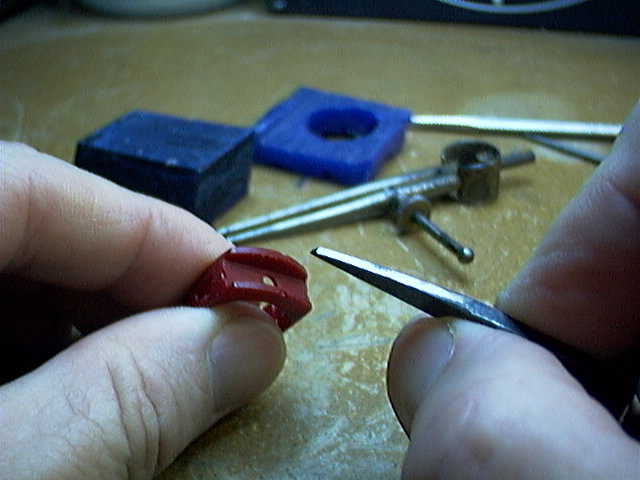 |
Step 2: Carve Design in Wax
The wax is sized for the finger, dividers and other instruments are
used to create the design to specification, then it smoothed and polished
for approval.
|
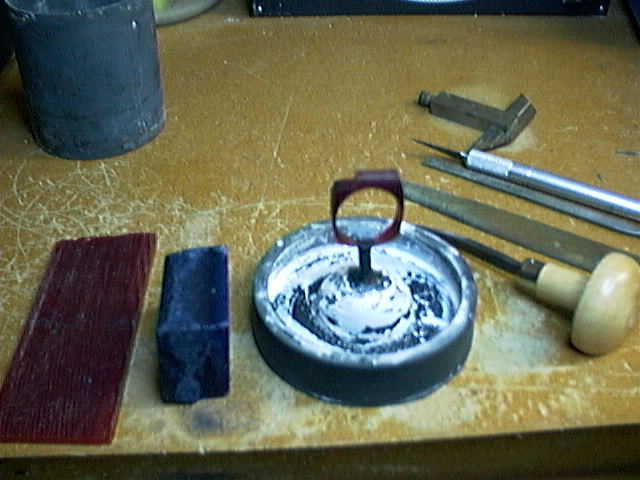
Step 3: " Spruing" for Casting
The finished wax model is connected by a "sprue" (wax tube)
to a base. The base will be put in a metal flask for casting.
|
 |
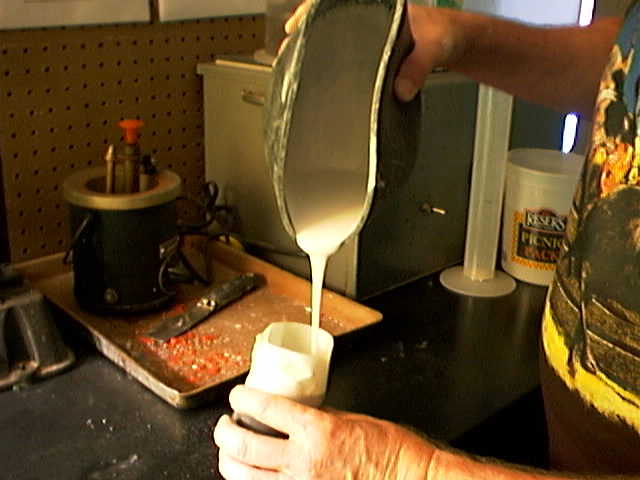 |
Step 4: Making the Mold
Investment (super-hard Plaster of Paris) is poured over into the flask
to completely cover the wax model.
|
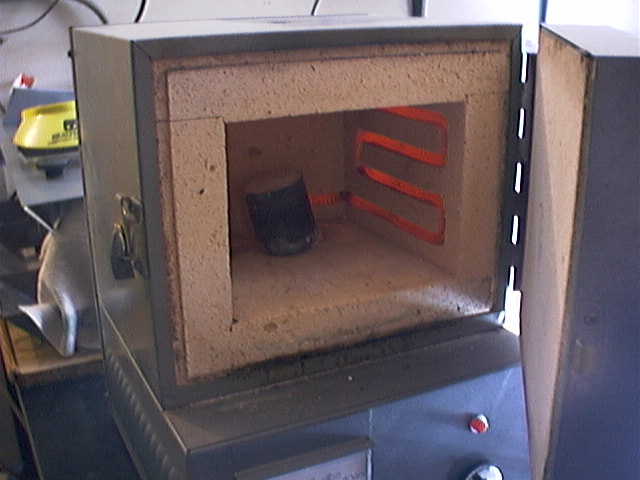
Step 5: Wax Removal
After the investment has hardened, the wax model is burned out of the
flask in a kiln. The investment is then super heated for several hours
before casting.
|
 |
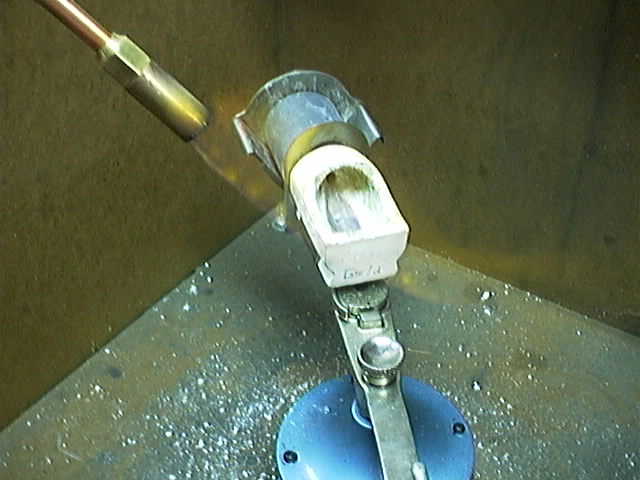 |
Step 6: Centrifugally Casting
While the flask is still super-hot, gold is melted with a torch and centrifugally
cast into the flask where it will take the shape of the melted out wax
model.
|
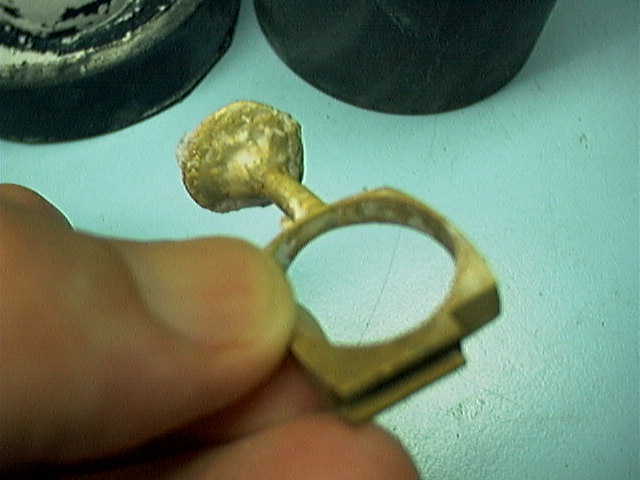
Step 7: Cast Jewelry in the Rough
The ring is taken out of the investment flask while still warm. Notice
the "sprue" has also been cast in gold.
|
 |
 |
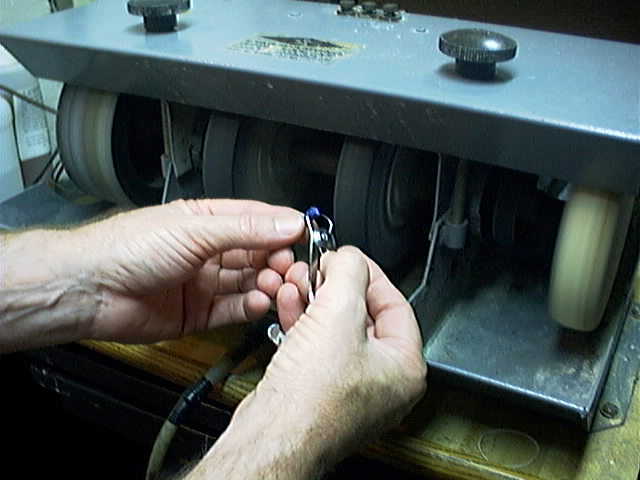
Step 8: Cleaning and Polishing
The "sprue" is cut off, then the gold is polished and buffed
and prepared for gemstone setting.
|
Step 9: Gemstone Finishing
The gemstones to be set in the jewelry have to be ground and polished,
and sized to fit.
|
 |
 |
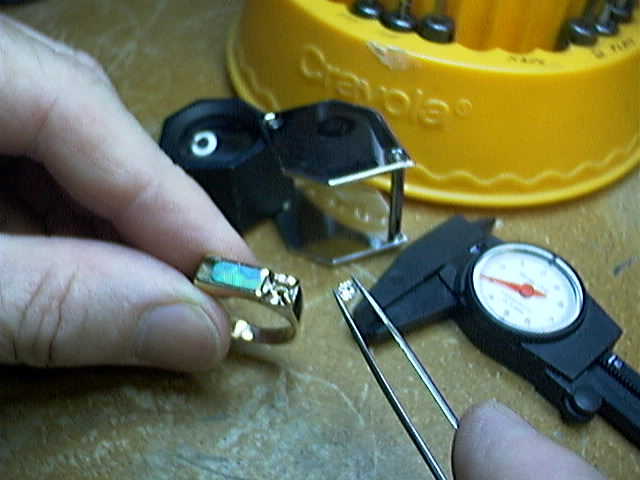
Step 10: Diamond Measurement
Diamonds are evaluated and the crown, girdle, and pavilion is measured
for proper setting.
|
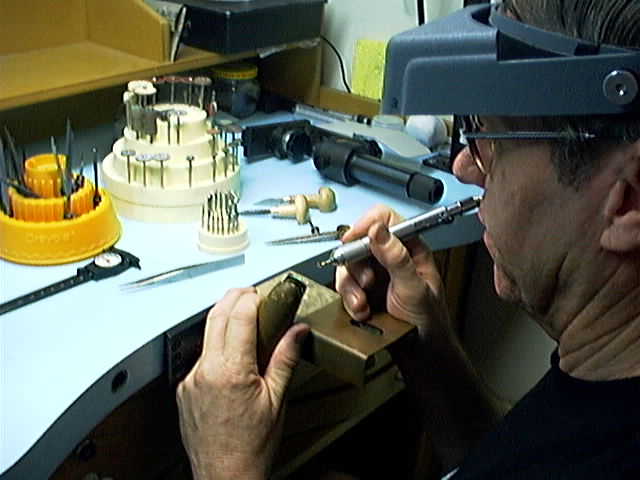
Step 11: Diamond Setting
The diamond is set using diamond burrs and gravers.
|
 |
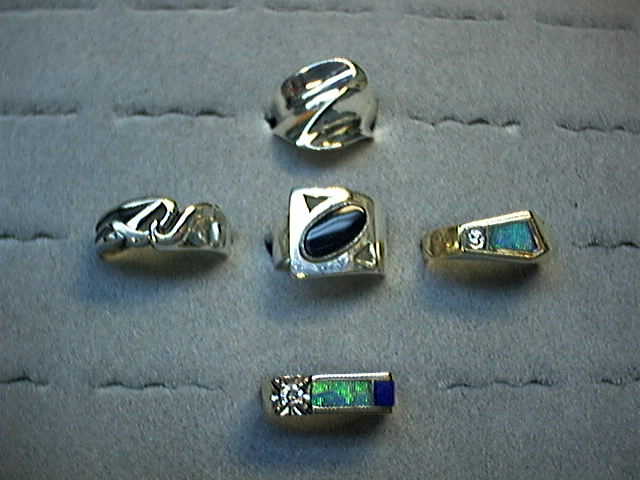 |
Step 12: Finished Jewelry
The final result of the designer's concept and creation is
wearable art.
|